Recording Photo & Video
Intro & Cheat Sheets
I have a bunch of buds who are camera experts. I am not. That said, I’ve been shooting with some camera or another, in a semi-professional way, for nearly two decades. I’m in that weird spot where I started getting interested in photo/video with digital photography before digital photography was actually good. I had some film things when I was a youth, but was an early adopter to very shitty early-digital cameras. Mini-DV (of 28 Days Later fame), and 3.4 Megapixel digital cameras were what I used early on.
Over time, I graduated to HDV (still a tape), then DSLR, then Digital Cinema, then Mirrorless systems. I believe Mirrorless systems are the best, accessible, camera system for semi-professional photo/video dorks. I’ve been a Fuji boy since 2020 and love their idiosyncratic X line. If you want to get into photo/video, the best you can do is just do it, a lot. There’s a famous quote, that I’m paraphrasing, that goes something like “the best camera is the one you have on you.” This is true. But it helps to like the tool and I refuse to believe that a mobile phone with a camera is all you need. Great cameras, but there’s a massive difference between that and traditional camera systems with real optics. Again: no shade on Apple (or Google), it’s just not the tool for making and doing everything. Also - tactile crafts are just a helluva lot more satisfying. Gimme those knobs and dials!
Camera Technique Cheat Sheet
- Shutter Speed - the speed that the shutter happens - faster = darker and more sharp. Faster looks like this 1/240. Slower looks like this 1/15. In general, the rule for video and your shutter speed is for it to be 2x the frame rate. For 23.976/24, you want to shoot at 1/48. 60fps, 1/120. Not following this rule is called shooting “off-speed”.
- Shutter Angle - Shutter speed, but for video. A higher number has greater motion blur, a smaller number is sharper (less motion blur). 180* is basically equivalent to 1/50. I know there’s a formula for ideal shutter angle but don’t remember.
- Aperture - the amount of light that’s let in through the lens by adjusting the iris blades - lower = shallower depth of field. Lower looks like this f/1.4. This is called a “wider” aperture. Camera people will say something like “hey let’s open it up a little bit”. This is what they’re talking about. The opposite is “closing down” to make it “narrow.” A higher number looks like this f/22. Film use “T” instead of “F” - I think it’s basically the same thing. If you start saying things like “closing down”, you might appear very smart.
- Frame rate or FPS - generally speaking, you want your frame rate to be half the shutter speed, so at 24 fps you shoot at a shutter speed of 1/48.
- Standard frame rates are:
- 23.976 (most frequently seen IMHO)
- 24
- 25 (BBC Mode)
- 29.97
- 30
- 48
- 59.94
- 96
- 60 (most frequently used for projection media and animated content)
- 120 (fun)
- 240 (very fun)
- Standard frame rates are:
Camera Mode Cheat Sheet
I'm embarrassed to admit how old I was before I realized what PSAM meant, and I'm even more embarrassed to admit how old I was before I realized what the letters meant.
P - “Program” use exposure comp. dial to change your photometry. If ISO is “auto” then this is considered “full auto”.
S - “Shutter Priority” use exposure comp. dial to change your photometry. You manually set the Shutter here, and everything else is auto.
A - “Aperture Priority” use exposure comp. dial to change your photometry. You manually set the aperture here, and everything else is auto.
M - “Manual” - full manual baby
Camera Pro-Tips
Rolling Shutter
You go to playback your media after your camera test and there's refresh bands that slightly overlay different opacities over your media. Oh no! This means that your frame rate and shutter speed isn't synchronized to some kind of electric lighting – usually appears from CFL bulbs, fluorescent tubes, and other non-continuous lighting sources (like projectors).
The first thing to try is adjusting your shutter speed (or shutter angle) to see if you can make the bands go away. I recommend checking the media on a larger monitor because sometimes, the bands are harder to notice in an EVF or an on-camera monitor. Some cameras even have extremely fine-tuned shutter settings called "flickerless" and you can enable that feature to really dial it in.
This is especially critical to check when you're shooting off-speed – say at 120 FPS, you won't see the banding while you're recording, but it might show up in playback.
Unfortunately, sometimes, you might need to also adjust your frame rate – this is wildly inconvenient for all the reasons.
On rare occasions, it is not possible to fully eliminate flicker and rolling bands, so do your best to minimize it and do a quick repair check on a computer.
Rolling Shutter Repair in Post-Production
Thankfully, the bands that are harder to see on an EVF are easier to fix in post.
Alternatively, if you're wrapped and can't re-shoot, you can try to fix this with Flicker Free. It doesn't always work, but solves rolling shutter issues in many situations.
Really gnarly banding is a lot harder to fix.
LUTs
LUTs are “Look Up Table” color files that apply a “look” to footage, or provide a color conversion to footage. Camera manufacturers often provide LUTs to use on top of their “Log” (uncorrected) footage.
There's a lot more on LUTs that someone can add later.
Adobe LUT Location
This is the path on a Mac computer for you to drop in your default preset LUTs for Premiere and After Effects. This is where you’d want to drop utility LUTs like FLogToWDR and then they’d show up in Lumetri color panels across both apps.
/Users/%user/Library/Application Support/Adobe/Common/LUTs/Creative/
/Users/%user/Library/Application Support/Adobe/Common/LUTs/Technical/
To install for all users and for it to work properly in After Effects :
Library/Application\ Support/Adobe/Common/LUTs/Technical/
Legacy Formats
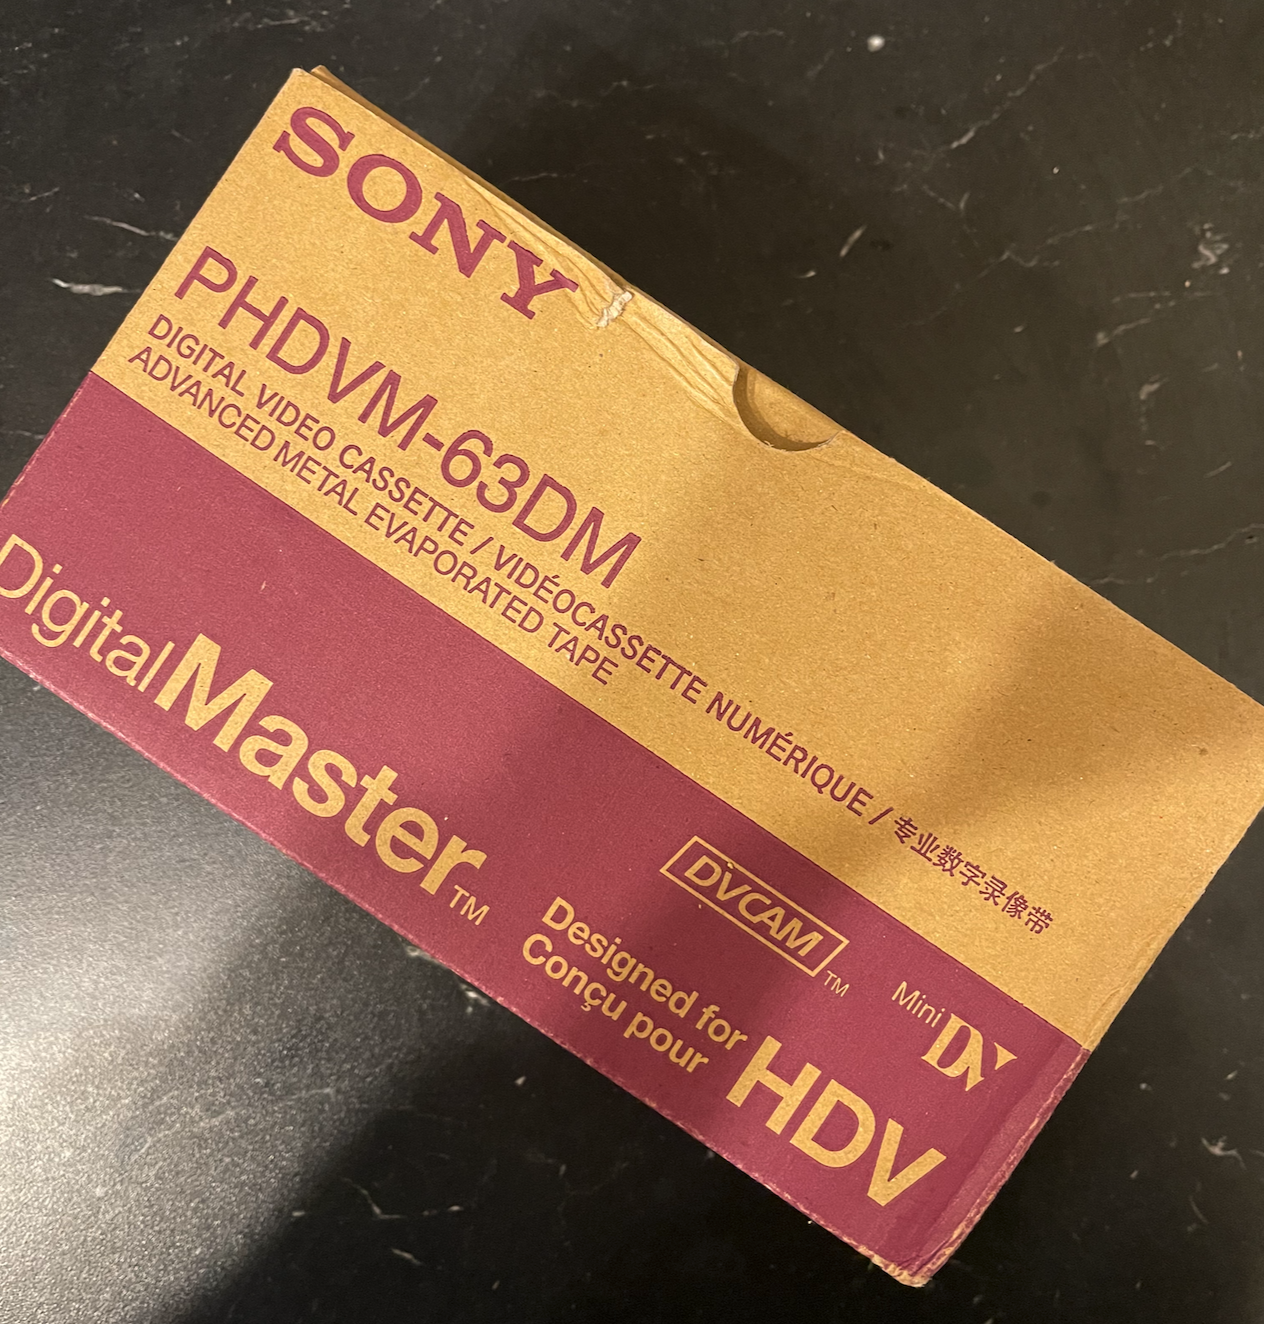
Mini DV & HDV
|
|
|
As recently as 2022, I did a project where I shot on HDV tapes and then imported from tape so that I could edit the footage and pass it through After Effects (and color correction). This brought back flashbacks of using Mini DV from middle school through to my early career. Unfortunately, the classic Log and Capture is currently broken in Premiere Pro, but it still works just fine in Final Cut Pro X.
Some reminders : Remember to Blank Your Tape before you shoot. This reduces the chances of getting timecode errors which will totally bork your footage. Blanking tapes means just shooting out the entire tape with the cap on before you shoot.
To capture this footage from tape to computer, you’ll need someway to plug into the Firewire protocol. Here’s how you do that: Firewire 6-Pin/Firewire 400 (the house shaped plug) to Firewire 9-Pin/Firewire 800, and then Firewire 800 to Thunderbolt 2 and then Thunderbolt 2 to Thunderbolt 3. Disgusting, but it works. |